Mac Os X Panther Emulator
Mac OS 10.3.X (Panther) is now being installed on all new Cal Poly faculty/staff Macintosh workstations and the OS only keeps getting better! It has been designed for users who could also be new the Macintosh, users who have only recently upgraded from OS 9 to OS X, or users who simply want to understand more about the good new features available in 10.3 Panther (e.g., Expose’, FileVault, Fast User Switching, the Sidebar, etc.).
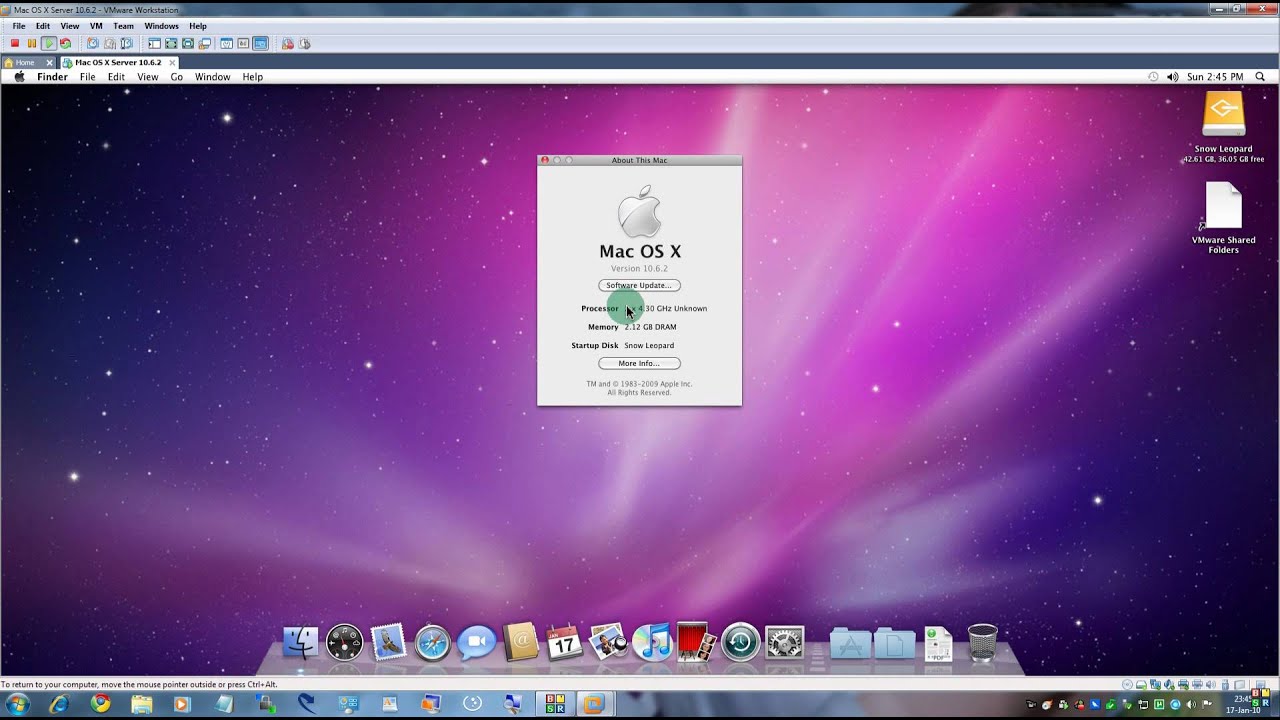
In this article, I will elaborate you one of the method to introduce and run Mac OS X Panther on your PC utilizing PearPC emulator. This is a free.
This examines desktop, dock, and toolbars; setting system preferences (e.g., personal settings, hardware settings, internet settings, printer preferences, etc.); fixing user accounts; file-sharing; basic troubleshooting techniques and more.
License
Official Installer
File Size
1.3GB
Version
10.3.2
Developer
Apple Inc.
Overview of Mac OS X 10.3 Panther
OS X is better than OS 9! Why? Because OS X has incorporated the features of multi-tasking, multi-threading, multi-user, protective memory, and a slew of other features. Apple created OS X because they weren’t ready to incorporate these important features in the previous codebase.
Apple attempted to try to to it with OS 9 during a project called “Copeland” but it failed Apple realized they were getting to need to create a completely new operating system; thus, OS X was born! the great news is that applications coexist with each other more nicely in OS X.
Users have the advantage of multitasking, which allows for multiple applications to be open at the same time without one application hogging all the CPU power. Multi-threading allows a multiprocessor computer to utilize both processors to their fullest capacity, which ends up in much more POWER and speed! The multi-user feature of OS X allows all the files to be assigned privileges in order that multiple people can use one computer and have their Desktop and applications personally customized.
Although it’s going to not sound like much, protective memory is useful for the rare incidence when an application crashes because the crash of 1 program doesn’t affect the opposite open applications or crash the OS of the PC – this is why some people claim that they haven’t had to reboot their computers for months or maybe years after installing OS X! Goodbye, unstable environment!
Also Read:-Download QuickBooks Mac Desktop 202 for free
OS X Desktop and Dock

Most of what you are doing on your Mac begins on the Desktop. The Desktop allows you to manage files, store documents, launch programs, adjust the way your Mac works, and far more! The first icon you’ll probably notice on your Desktop is that the disk drive icon (usually labeled as Macintosh HD, iMac HD, or something like that). The disk drive icon resides within the upper-right corner of your Desktop and by double-clicking upon it, you’ll view the files and applications on your disk drive.
At rock bottom of the OS X Desktop, you’ll see a row of icons. These icons comprise the “Dock.” Single-clicking a dock icon allows you to either-
- Open applications, files, or folders; or
- Bring an open application, file, or folder to the front of all the others.
Whenever you launch a program, Mac OS X puts its icon within the Dock – marked with a touch black triangle. As soon as you quit the program, its icon disappears from the Dock unless you had placed the application within the Dock permanently. If you realize the appliance is one that you simply use tons and would like to stay it within the Dock permanently, simply press and hold down your mouse on the Dock icon and choose “Keep in Dock” and alias are going to be made.
Pressing and holding your mouse (or Control-Clicking or Right-clicking if you’ve got a right mouse button) on a folder that resides within the Dock allows you to ascertain the contents of a whole folder also as other folders embedded in the folder. You’ll also put away files by dragging them directly into the Dock’s folder icons even as if it were a daily folder on the disk drive.
Menu Commands
An examination of the Finder File Menu will reveal a couple of changes from OS 9. for instance, the keyboard command to form an alias is not any longer Command + M; the command has been changed to Command + L. To maneuver an item to the trash, select the item (i.e., click once on a document you would like to trash so its icon is highlighted) and use the keyboard command of Command + Delete (Backspace).
Note: you’ll later empty the trash by selecting Shift + Command + Delete (if you’re within the Finder at the time) otherwise you can also simply choose Empty Trash from the Finder menu. Another way is to click once and hold down the mouse on the Trash icon in the Dock and choose Empty Trash. Press the choice key once you choose Empty Trash to stop the warning message from appearing.
 Select Settings. Select your profile picture. .
System Requirements for Mac OS X 10.3 Panther
- Require PowerPC G3 processors
- Require 128 MB RAM Size
- Require 2GB Hard Drive Space
Download Mac OS X 10.3 Panther Installation ISO for free
Mac OS 10.3.X (Panther) is now being installed on all new Cal Poly faculty/staff Macintosh workstations and the OS only keeps getting better! It has been designed for users who could also be new the Macintosh, users who have only recently upgraded from OS 9 to OS X, or users who simply want to understand more about the good new features available in 10.3 Panther (e.g., Expose’, FileVault, Fast User Switching, the Sidebar, etc.).
Price Currency: USD
Operating System: Mac OS X Panther 10.3
Application Category: OS
Got a doobie of a problem.
So a client of the company I work in, who is an individual company designing and manufacturing industrial print textiles of some sort, has in their headquarters a room full of filing cabinets containing filed film negatives for these print textiles; there are so many files that they must be catalouged. Problem is, when the most recent catalouge was implemented roughly 15 years ago, it was designed to be a 15' iMac G4 with an 800 MHz PPC G4 chip and 256 mb of RAM running OS X 10.3.9 Panther and a custom-ordered/designed catalogue software application written specifically for this company and no other purpose (as in, it's not available for purchase otherwise). The software contains a huge database that is vital to the company to continue functioning; however, the iMac is predictably on its last leg and needs to be replaced very soon.
Optimally, we want to get them set up with a thin-panel 21.5' iMac running a quad-core i5 and 16 GB of RAM; since the database is contained in the old software, itself running in Panther, realistically the safest method would be to image the entire computer through Target Disk Mode and create some sort of emulated virtual machine within the newer OS, be it Sierra or otherwise; however, Panther was released before any Mac used Intel processors, and thereby is written in a strictly PowerPC-based architecture. How do I emulate that on a modern Intel machine? Any advice would be much obliged. Thanks!
Posted on